APKT and APMT are often searched together, but replacement decisions should start with cutter compatibility, not a similar-looking insert photo.
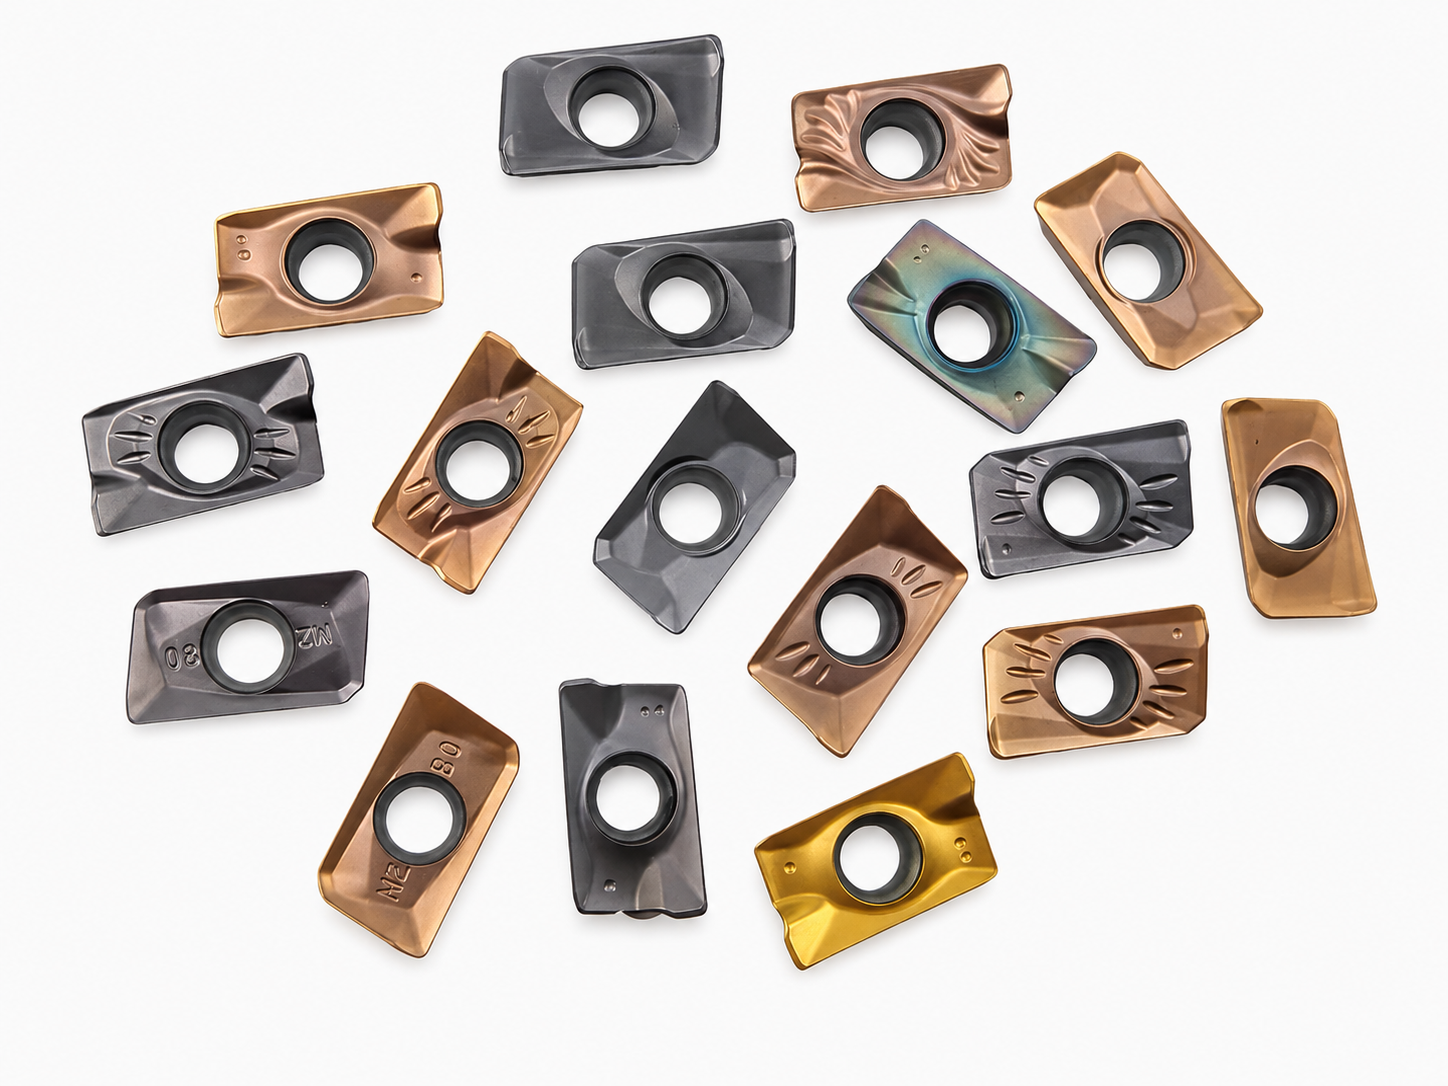
Do not choose APKT or APMT only by the family name. Confirm the full insert code, cutter body model, insert seat, screw or clamp arrangement, workpiece material and operation. Those details decide whether a replacement can be fitted and used safely.
Buyers often search “APKT vs APMT” after receiving a model list, finding a used cutter body, or trying to replace inserts from another supplier. The names are close, and the inserts can appear similar at a glance. That is not enough for a purchasing decision. Insert designation, size, thickness, corner geometry, edge preparation and mounting arrangement can all change the real compatibility.
The most useful question is not “which family is better?” It is “which insert is specified for this cutter body and operation?” A correct answer needs the cutter information as well as the insert code.
The family prefix is only the beginning. An RFQ should include every character visible on the box or insert label. If a code is incomplete, send clear photos of the insert from the top, side and seating surface. A supplier can then compare the geometry and identify which dimensions still require confirmation.
The cutter body is the controlling part of the assembly. It determines where the insert sits, how it is clamped and how the cutting edge is positioned. An insert that is close in shape can still be wrong for the pocket, screw angle or support surface. Fitting an unconfirmed insert may cause poor seating, vibration or damage to the cutter body.
| What to check | Why it matters | Useful RFQ evidence |
|---|---|---|
| Cutter body model | Confirms the intended insert family and mounting direction. | Model marking or a clear cutter photo. |
| Insert seat | Shows contact surfaces and support geometry. | Photo with the insert removed and seat cleaned. |
| Screw or clamp | Controls fit and clamping force. | Photo of the screw head and insert hole. |
| Existing insert | Allows comparison of code, size and chipbreaker. | Top, side and bottom photos. |
After compatibility is confirmed, select the grade, coating and edge direction around the real operation. Shoulder milling, face milling, slotting and intermittent cuts load an insert differently. The workpiece material, machine rigidity, cutter overhang, coolant and required finish should be part of the discussion.
For example, a buyer machining a stable steel shoulder may prioritize predictable chip control and surface finish. A buyer dealing with interrupted cuts, casting skin or less rigid workholding may need to focus first on edge support and stability. These are process questions; the insert family alone does not provide the answer.
When an exact replacement is uncertain, a small controlled trial is more useful than changing insert family, grade and cutting conditions at the same time. Keep the cutter body and workpiece stable, confirm seating, then inspect the edge and chip after the test. This produces usable feedback for the next order.
A buyer sent a photo of a shoulder-milling cutter and asked for “APKT replacement inserts.” The insert label was incomplete, and the cutter had been supplied with an older set of inserts. The first review did not treat APKT as enough information. The buyer was asked for a photo of the cutter body marking, the empty insert seat and the screw.
The photos showed that the purchasing decision needed to be based on the cutter pocket and mounting arrangement, not only on the visible front shape. The buyer then confirmed the workpiece material and whether the job was roughing or a finishing pass. That sequence made the comparison specific and reduced the risk of ordering inserts that looked right but did not seat correctly.
Only after the cutter body, insert seat and clamping arrangement are confirmed. The correct replacement is determined by the specified cutter system, not by the family prefix alone.
They are useful when you need grade or geometry support. If you do not have them, send the workpiece material, operation and current problem first.
Photos can help identify the direction, especially when the full code is missing. A photo of the cutter body and insert seat makes the match more reliable.
APKT vs APMT is primarily a compatibility and application question. Start with the full code and cutter body, then confirm the seat and clamping arrangement, and finally choose the grade or geometry around the real operation. For related milling families, see our milling inserts product page and APKT/APMT milling insert guide. When ready, send your cutter body model, insert photos and quantity through the RFQ page.